Install Navi+
Add Navi+ to your store — about 1 minute. Then turn on the app embed.
You will learn
How to install Navi+ and where to find it afterwards. Installing changes nothing on your storefront yet — menus show only after you turn on the app embed and publish a menu.
Before you begin
- You’re the store owner, or a staff member allowed to install apps.
- Any theme works — Online Store 2.0 or vintage.
Steps
- Open apps.shopify.com/pronavi-navigation-design and click Install.
- Log in to the store you want to add Navi+ to, if asked.
- Review the permissions and click Install app.
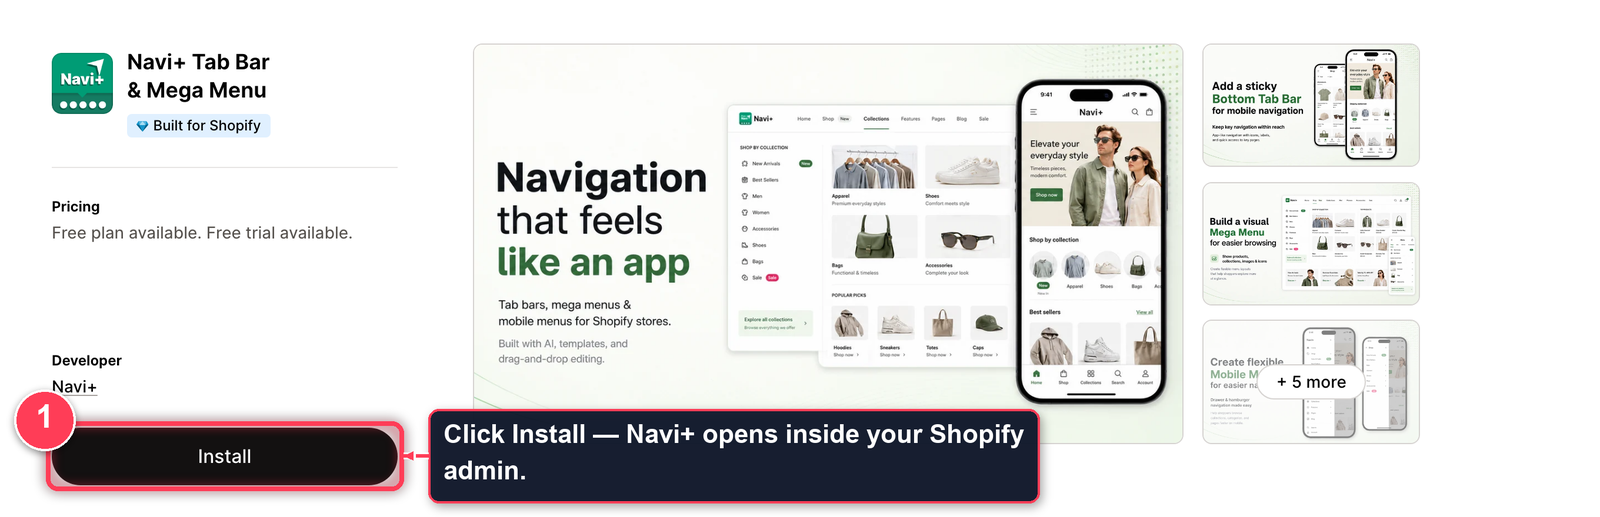
Navi+ opens right away. From now on, find it in your Shopify admin under Apps > Navi+.
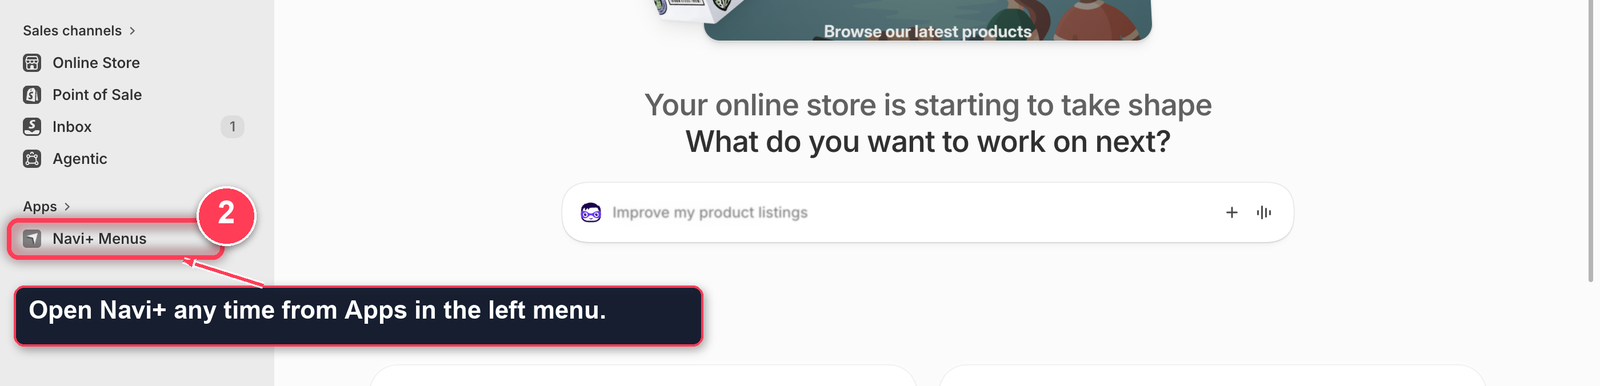
Nothing shows on your store yet. That's normal — the next step turns on the app embed.
- From your WordPress admin, go to Plugins > Add New and search Naviplus Menu Builder.
- Click Install Now, then Activate.
- Open Navi+ under Appearance > Naviplus Menu Builder.
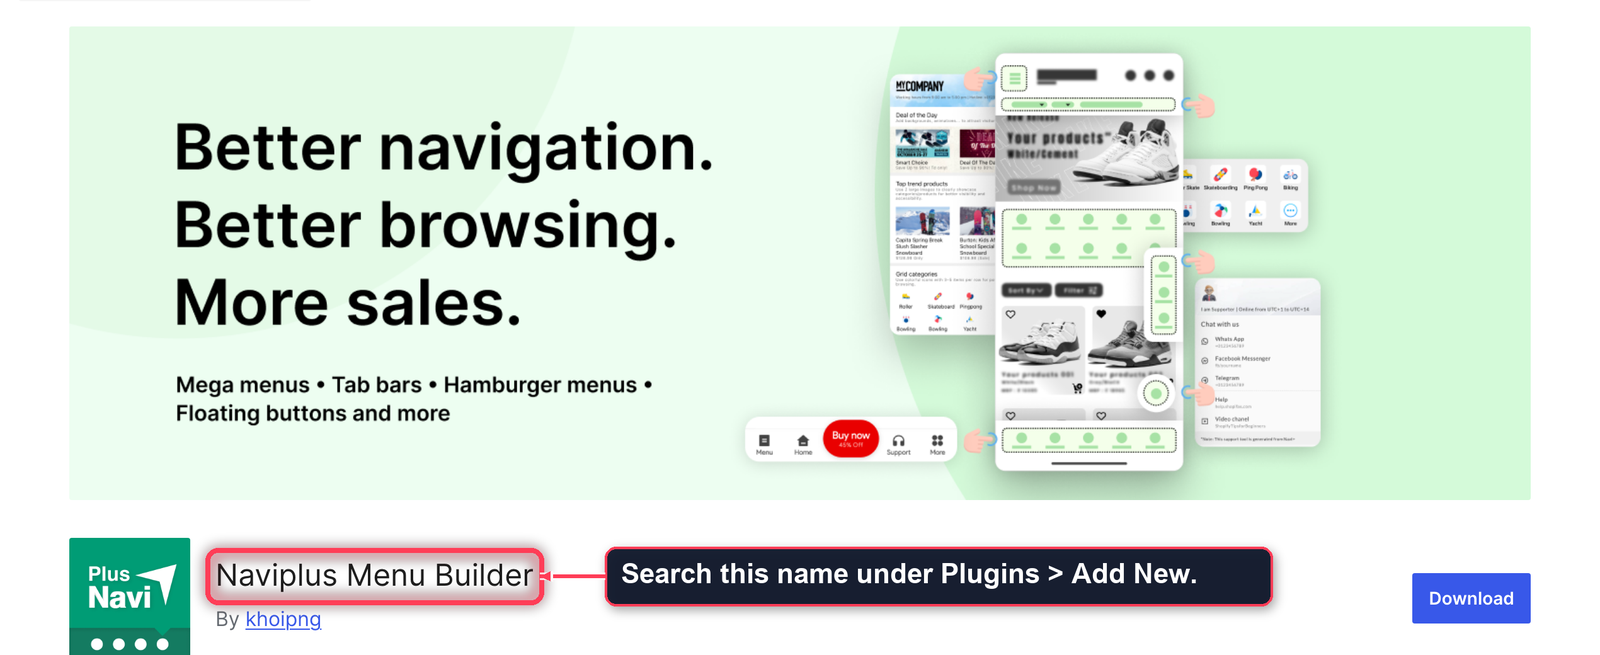
The plugin connects your site to Navi+ the first time you create a menu — there is no key to paste. If your host blocks installs from the directory, download the ZIP from wordpress.org/plugins/naviplus-menu-builder and upload it under Plugins > Add New > Upload Plugin.
- Open Navi+ on the Wix App Market and click Add to Site.
- Choose the site and approve the permissions.
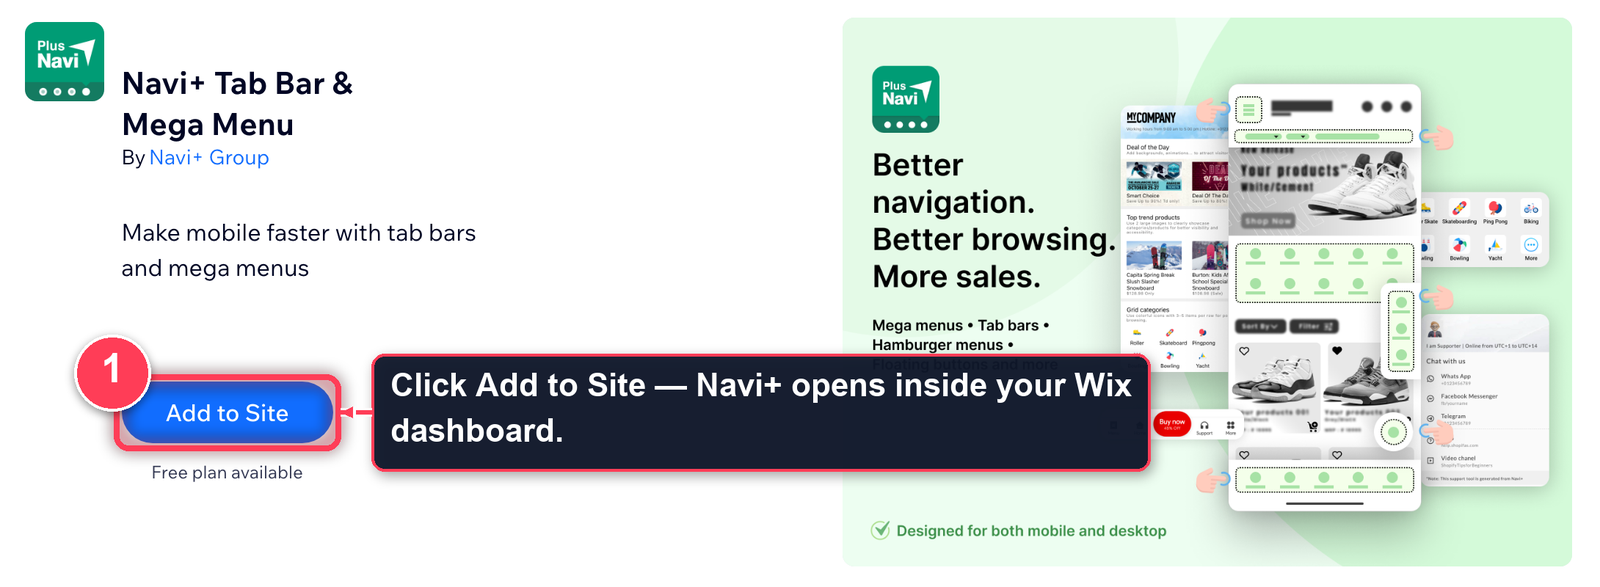
Navi+ opens inside your Wix dashboard. No snippet, no code — the app adds itself to your live site, and billing runs through Wix.
For Webflow, Squarespace, or any site where you can edit the <head>:
- Create an account at dash.naviplus.app and click Add website.
- Enter your domain and copy the snippet you’re given.
- Paste it inside the
<head>of every page, then publish the site.
The website shows as Connected in the dashboard after the first page load.
Next: Turn on the Navi+ app embed — required before any menu can show.
Did this page answer your question?
Need a hand? Chat with us in the app or write to [email protected] — send your store URL and the menu name and we'll look at it with you.